Physical Address
304 North Cardinal St.
Dorchester Center, MA 02124
Physical Address
304 North Cardinal St.
Dorchester Center, MA 02124

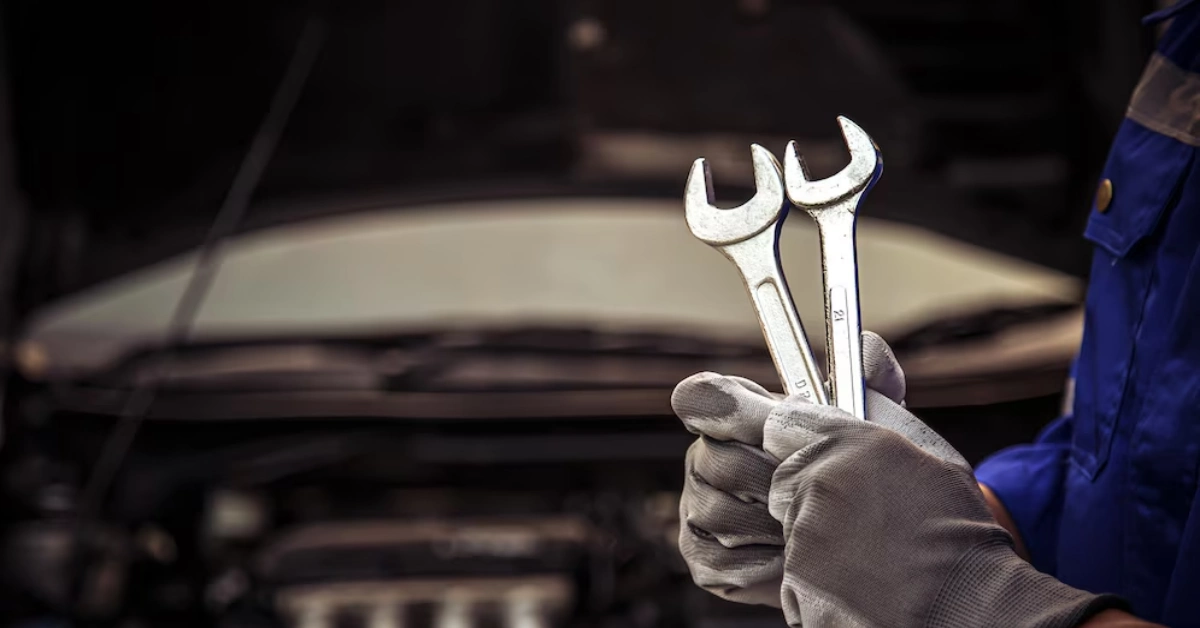
Car repair bills can drain your wallet faster than a hole in your gas tank. With rising maintenance costs, learning to fix simple car problems yourself saves serious cash and gives you useful skills for life.
Many drivers feel scared to pop the hood and fix things themselves. But you don’t need fancy tools or years of training to handle basic repairs. Car manufacturers make certain maintenance tasks simple enough for anyone to tackle.
You work hard for your money, so why hand it over to a mechanic for simple fixes? This guide shows you five DIY car repairs that almost anyone can do without special skills or expensive equipment.
Let’s dive into these money-saving repairs that keep your car running smoothly without emptying your bank account.
Changing your engine oil tops the list of essential DIY car maintenance tasks. Fresh oil keeps your engine parts properly lubricated, reduces wear on metal parts, and prevents your engine from overheating during long drives.
Most modern cars need an oil change every 5,000-7,500 miles, or more often if you drive an older vehicle with conventional oil. Check your owner’s manual for the exact recommendation for your specific make and model.
The average shop charges $40-75 for an oil change, but doing it yourself costs about $25 for oil and a filter. That’s a savings of up to $50 each time, which adds up to hundreds of dollars over the life of your car.
You’ll need basic tools like an oil filter wrench, socket set, funnel, and drain pan. The process takes about 30-60 minutes from start to finish, even for beginners who are taking their time.
Warm up your engine slightly to help the old oil flow better, then turn it off. This step helps ensure all contaminants trapped in the oil will drain out with it, giving your engine a more thorough cleaning.
Place a drain pan under the oil pan, remove the drain plug with the right size socket, and let the old oil drain completely. This usually takes about 5-10 minutes for all the oil to empty out.
While the oil drains, remove and replace the oil filter, making sure to lubricate the gasket on the new filter with a thin layer of fresh oil. This prevents leaks and makes it easier to remove next time.
Add the correct amount and type of new oil as specified in your owner’s manual. Most cars take between 4-6 quarts of oil, but check your specific vehicle requirements to be certain.
Always dispose of old oil properly at a recycling center. Many auto parts stores accept used oil for free recycling, making the process convenient and environmentally responsible for home mechanics of all skill levels.
A clean engine air filter improves performance and fuel efficiency by allowing your engine to “breathe” properly. Replacing it ranks among the easiest car maintenance tasks and requires absolutely no special tools in most vehicles.
Most cars need a new air filter every 12,000-15,000 miles or once a year. A dirty filter restricts airflow to your engine, causing poor acceleration and reduced gas mileage that costs you money with every trip.
Shops often charge $20-30 for this simple task that takes less than 15 minutes. Doing it yourself costs about $10-15 for the filter, saving you around $30 each time you perform this maintenance.
Your car’s air filter is usually located in a black plastic box under the hood. The exact location varies by model, but your owner’s manual will show you exactly where to find it on your specific vehicle.
Locate the air filter box, which is usually on top of the engine or to the side under the hood. Most air filter boxes have clips or screws that hold the top of the housing in place.
Open the box carefully, noting how the old filter sits inside before removing it. Take a quick photo with your phone if you’re worried about getting the orientation correct when installing the new one.
Remove the old filter and check the housing for any debris or dirt that should be wiped away. A clean housing ensures the new filter can work efficiently from the moment you install it.
Insert the new filter in the same position as the old one, making sure it fits snugly in the housing. The filter must be properly seated to prevent unfiltered air from bypassing it and entering your engine.
Close the box securely, making sure all clips or screws are tight. This simple maintenance task improves gas mileage, extends engine life, and takes just 10-15 minutes to complete from start to finish.
Worn wiper blades reduce visibility in bad weather and create a safety hazard. Replacing them yourself takes just minutes and saves you from the markup that service centers charge for this simple task.
Experts recommend replacing wiper blades every 6-12 months or whenever they start leaving streaks on your windshield. The rubber deteriorates from sun exposure, heat, cold, and regular use over time.
Auto shops often charge $20-45 to replace wiper blades that cost $10-25 at any auto parts store. The markup for this five-minute job can be as high as 100%, making it one of the easiest ways to save money.
No tools are needed for this repair, making it perfect for beginners. Modern wiper blades come with adapters to fit almost any vehicle, with simple instructions printed right on the package.
Lift the wiper arm away from the windshield until it locks in the “up” position. This gives you clear access to the blade and prevents the arm from snapping back against the glass during replacement.
Press the small release tab where the blade connects to the wiper arm. The exact location varies by vehicle, but it’s usually obvious once you examine the connection point carefully.
Slide the old blade off the arm while continuing to press the release tab. Some wipers twist to remove, while others slide straight off, depending on your specific vehicle make and model.
Attach the new blade by sliding or clicking it onto the wiper arm until you hear it lock into place. Most new blades come with adapters and clear instructions for various vehicle types.
Lower the wiper arm gently back to the windshield once the new blade is securely attached. Repeat the process for the other wiper, and test them with your washer fluid to ensure proper operation.
Battery issues rank among the top causes of car breakdowns. Regular maintenance extends battery life, while knowing how to replace it yourself saves money and prevents being stranded with a vehicle that won’t start.
Most car batteries last 3-5 years before needing replacement. Signs of a failing battery include slow engine cranking, dimming headlights, electrical issues, and dashboard warning lights that appear intermittently or remain lit.
A new battery costs $75-200, depending on your vehicle, while shops charge an additional $30-50 for installation. This simple DIY job saves you money and teaches you an essential roadside emergency skill.
You’ll need basic wrenches, protective gloves, and possibly a wire brush for terminal cleaning. The entire process takes about 15-30 minutes, even for someone who has never done it before.
For cleaning terminals, first disconnect the cables (negative cable first, then positive). This prevents electrical shorts that could damage your vehicle’s sensitive electronic components or cause personal injury.
Clean corrosion from terminals using a mixture of baking soda and water with a wire brush. The baking soda neutralizes battery acid, making the cleaning process safer and more effective for long-term battery health.
When replacing the battery, remove the old one (after disconnecting cables in the proper order) and install the new battery in the same position. Battery replacement requires attention to cable order and terminal position.
Connect the positive cable first, then the negative when installing a new battery. This sequence prevents dangerous sparks that could occur if done in the wrong order during the installation process.
Secure the battery properly with any hold-down brackets or clamps that came with your vehicle. A loose battery can be damaged by vibration and movement, significantly shortening its useful life.
Proper tire care ensures safety, improves fuel efficiency, and extends tire life. Learning basic tire maintenance saves you money on professional services and helps prevent expensive roadside emergencies caused by poor tire condition.
Regular tire pressure checks, rotation, and knowing how to change a flat are essential skills. Incorrect tire pressure alone can reduce gas mileage by 5-10%, costing you money with every mile you drive.
Professional tire rotations cost $20-50, but you can do this yourself with just a jack, jack stands, and a lug wrench. Tire pressure checks cost nothing but a few minutes of your time each month.
A quality tire pressure gauge costs under $10 and should be used monthly. Tire rotation should happen every 6,000-8,000 miles to ensure even wear and maximum tire life from your investment.
Check tire pressure monthly using a tire gauge when tires are cold. The recommended pressure for your vehicle is listed on a sticker inside the driver’s door jamb or in your owner’s manual.
Rotate tires every 6,000-8,000 miles to ensure even wear. The rotation pattern depends on your vehicle and whether you have directional tires, but cross-patterns work for most standard vehicle configurations.
Learn to change a flat tire before you need this skill on the roadside. Practice in your driveway using the spare tire and tools that came with your vehicle to ensure you can handle this emergency.
Visually inspect tires monthly for signs of uneven wear, damage, or embedded objects. Early detection of tire problems prevents blowouts and extends the usable life of your expensive tires.
Keep your spare tire properly inflated and in good condition. Many drivers forget about the spare until they need it, only to discover it’s flat or deteriorated when an emergency occurs.
Use quality tools that will last through multiple repairs. Investing in a reliable socket set, wrenches, screwdrivers, a tire pressure gauge, and an oil filter wrench saves money over time and makes repairs easier.
Modern OBD-II scanners with smartphone connections help diagnose problems before they become expensive repairs. These affordable tools pay for themselves the first time they help you avoid an unnecessary trip to the shop.
Know your limits and recognize when a job requires professional help. Complex repairs involving brakes, suspension, or electronics should be left to professionals for safety and warranty reasons.
Always check your owner’s manual for specifications, maintenance intervals, and safety instructions. The manual contains important information specific to your vehicle that generic online guides might not cover accurately.
Join online forums for your specific vehicle make and model. These communities provide valuable tips, troubleshooting help, and moral support from other DIY mechanics tackling the same problems you face.
Many DIYers dive into repairs without consulting their vehicle’s owner’s manual or researching model-specific requirements. This oversight can lead to using incorrect fluids or parts, potentially causing expensive damage to important engine components.
Using the wrong tools often leads to stripped bolt heads or improperly tightened components. For example, many DIY brake jobs fail because of incorrect torque application, which can lead to brake problems or failures down the road.
Skipping test drives or system checks after finishing a repair leaves hidden problems undetected. A quick test drive around the block can reveal issues that would otherwise cause problems on longer trips or at higher speeds.
Overestimating your skill level can turn a simple job into a costly mistake. Complex repairs like timing belt replacements need specialized knowledge and tools, and attempting these without proper expertise often leads to bigger problems.
Using generic online tutorials without checking if they apply to your specific vehicle model can cause serious problems. Different cars, even from the same manufacturer, often have different parts and procedures for the same repair job.
Always use proper safety equipment, including gloves and eye protection, when working on your car. Basic safety gear prevents injuries and makes the repair process more comfortable and professional.
Work on a level surface with your parking brake engaged and wheels chocked when appropriate. This prevents dangerous vehicle movement that could cause serious injury during maintenance procedures.
Disconnect the battery before working on electrical components to prevent shocks and system damage. This simple precaution prevents many common accidents and protects both you and your vehicle.
Have a fire extinguisher rated for fuel fires nearby whenever working on your vehicle. While rare, automotive fires can happen during repairs and spread quickly without proper safety equipment nearby.
Never work under a vehicle supported only by a jack. Always use proper jack stands rated for your vehicle’s weight to prevent deadly accidents caused by jack failures.
Ensure proper ventilation when handling solvents, fuels, or chemicals. Good airflow prevents dangerous fume buildup that can cause dizziness, respiratory issues, or create fire hazards in enclosed spaces.
Use bright LED work lights to improve visibility in tight engine spaces. Better lighting helps you spot loose connections, fluid leaks, or missing parts before they cause problems on the road.
Double-check all connections after completing your repair job. Loose hoses, electrical connectors, or fasteners can cause unexpected breakdowns, dangerous fluid leaks, or electrical system failures later.
Some warning lights need professional attention right away. Persistent check engine, ABS, or airbag lights often indicate complex electrical or mechanical issues beyond basic DIY fixes.
Unusual noises like grinding brakes, whining transmissions, or strong vibrations typically signal worn bearings or misaligned components. These problems require specialized diagnostic equipment and expertise to fix properly.
Structural repairs or safety system work should always go to professionals. Frame straightening, airbag replacements, and driver-assistance system calibrations need special equipment and training to perform correctly.
Be careful about warranty considerations before attempting repairs. Working on sealed systems or using non-manufacturer parts often voids warranties, potentially costing you more money than you’d save by doing it yourself.
Learning these five DIY car repairs saves hundreds of dollars annually while building valuable skills. The satisfaction of fixing your vehicle adds to the financial benefits of home auto maintenance.
By mastering these basic repairs, you gain confidence and knowledge about how your car works. This understanding helps you communicate better with mechanics when professional service becomes necessary for complex problems.
Remember that proper maintenance prevents expensive repairs down the road. Regular DIY checks catch small problems before they grow into major mechanical failures requiring professional intervention.
For more helpful DIY tips, check out other car repair guides on Handmagazine. We’re committed to helping you maintain your vehicle safely while keeping more money in your wallet for the things that matter most.